Overview
If you are upgrading GeneLinker(TM) Gold to Version 3.1, please follow the instructions in Upgrading GeneLinker(TM) Gold. The short form of these instructions is: you must remove your existing GeneLinker(TM) installation before upgrading and then follow these installation instructions.
If you are upgrading GeneLinker(TM) Platinum to Version 2.1, please follow the instruction in Upgrading GeneLinker(TM) Platinum. The short form of these instructions is: you must remove your existing GeneLinker(TM) installation before upgrading, and then follow these installation instructions.
Please follow the installation process appropriate to your license type. Please note that floating licenses are no longer supported.
Licenses
GeneLinker(TM) license types.
A Demonstration Client is an open license to run a crippled version of GeneLinker(TM).
A Licensed Client (node-locked) is a single license for a single copy of GeneLinker(TM) to run on a single computer.
Floating License Server / Floating Client are no longer supported.
See License Overview for further information on licenses.
Actions
All License Types Start Here
GeneLinker(TM) uses an installer program to make the installation process simple.
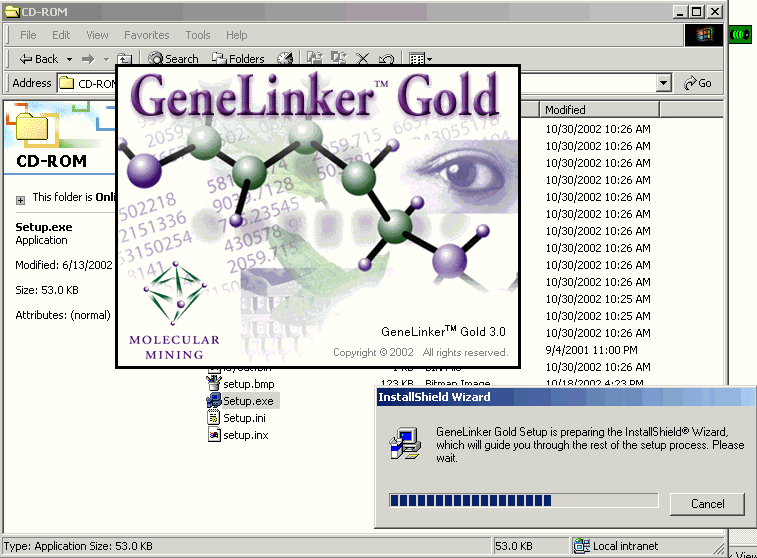
1. This process assumes you have downloaded the GeneLinker self-extracting installer from the Predictive Patterns website. If you have not, please go to the download page and select either GeneLinker(TM) Gold or Platinum. Save the downloaded file to disk. The file will be named GL_GOLD_INSTALL.EXE for GeneLinker(TM) GOld and GL_PLATINUM_INSTALL.EXE for GeneLinker(TM) Platinum. For your convenience, you should download the product you are most interested in purchasing--they cannot be converted into one another, and so if you download Platinum and buy Gold you will have to download Gold again. Both Gold and Platinum can be installed on the same machine.
When the download is complete, double click on it to run. The installation process should start automatically, and you will see the following screen:
Followed by this screen:
2. The Welcome dialog is displayed.
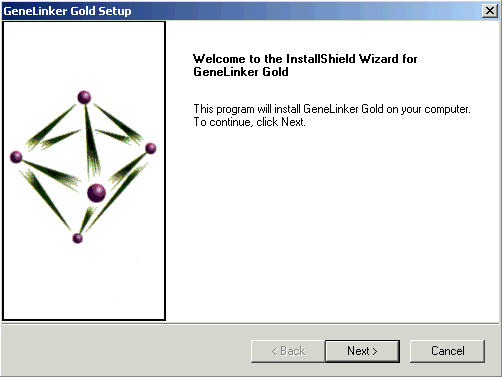
3. Click Next to continue.
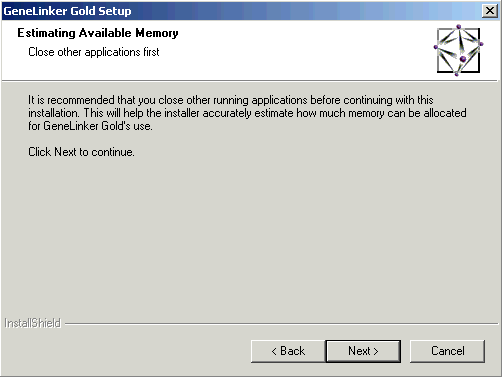
4. It is recommended that you close any other applications you may be running. Click Next to continue.
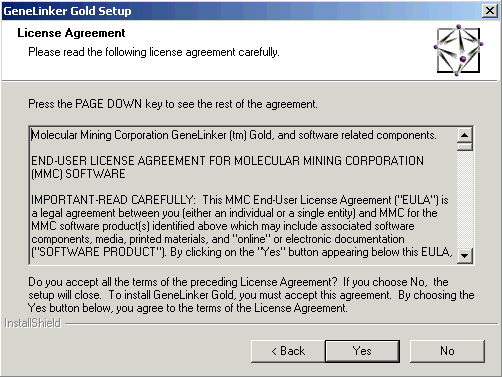
5. Read the license agreement displayed in the dialog and click Yes to continue.
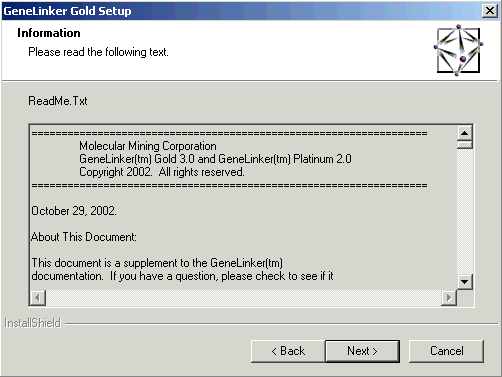
6. Read the ReadMe.Txt file displayed in the dialog and click Next to continue.
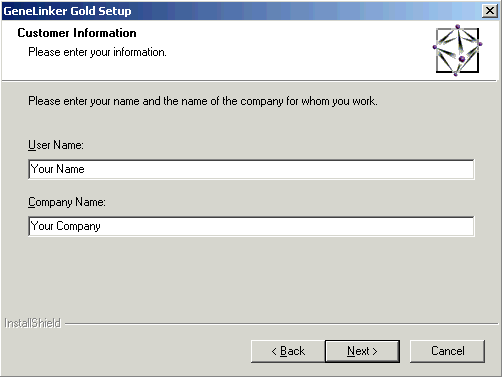
7. If the information shown in the dialog is incorrect, type over the provided name and company information. Click Next to continue.
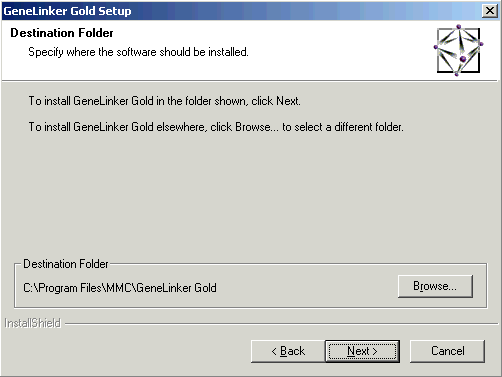
8. If the default destination folder is not where you want GeneLinker(TM) installed, click Browse and select the correct folder. Click Next to continue.
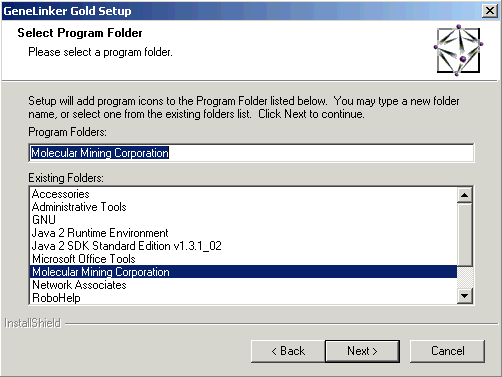
9. If the default program folder is not where you want the program icon placed, select another folder. Click Next to continue.
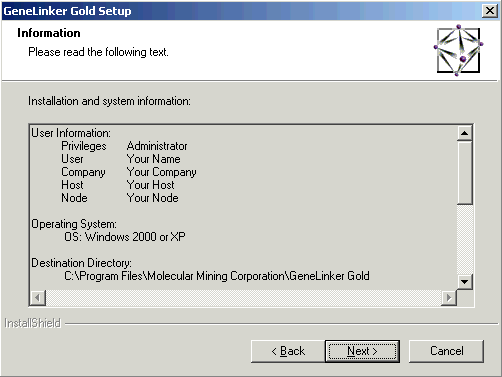
10. The installation system information is displayed for you to read. Click Next to continue.
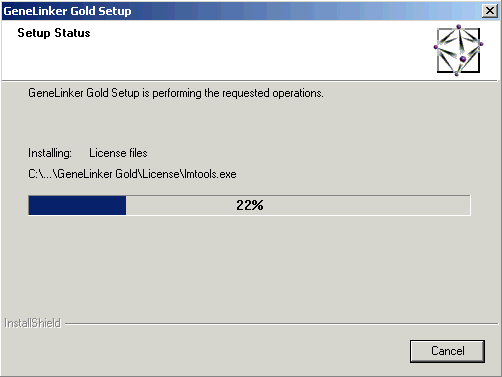
11. The GeneLinker(TM) files are transferred onto your computer.
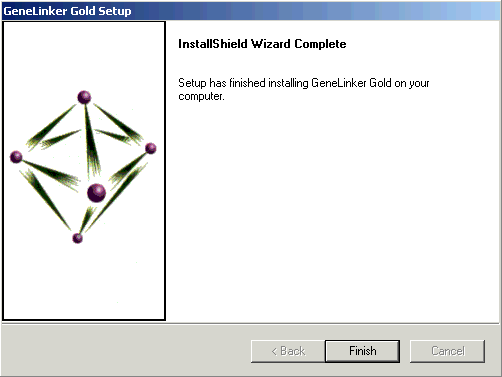
12. Click Finish. The Setup dialog closes.
13. At this point, the installation process is complete. You may need to change the license information within GeneLinker(TM) depending on the type of license you have.
If you have a Demonstration Client license, GeneLinker(TM) is ready for use.
If you have a single, node-locked license (Licensed Client) the license information that was installed needs to be changed. Please follow the instructions in the topic linked to in the table below.
|
License Type |
Procedure |
|
Licensed Client |
|
|
|
|
Related Topics:
If you have an expired Demonstration Client license:
If your demo license expires, please contact Predictive Patterns Software Inc. (PPSI) sales to purchase GeneLinker(TM).
Updating Demo License to Licensed Client
If your license changes:
Changing from Licensed Client to License Server
If your system or server changes:
Licensed Client: Configuration Change
Licensed Client: Moving from One Computer to Another
License Server: Moving from One Computer to Another
License Server: Configuration Change
Updating Floating Client after Server Move