|
Tutorial 8: Step 2 Import Gene List
A gene list is imported to bring in additional meta-data about the genes in the dataset.
1. Click the Chip1 dataset in the Experiments navigator. The item is highlighted.
2. Click the Table
View toolbar icon ![]() , or right-click the dataset and
select Table View from the shortcut
menu. A table view of the dataset is displayed.
, or right-click the dataset and
select Table View from the shortcut
menu. A table view of the dataset is displayed.

3. On the table viewer, move the mouse pointer until it is on the border between the first and second gene names. The pointer becomes a two-headed arrow. Click and drag to the right to widen the columns in the table until the gene names are completely displayed. Click on the fourth gene (AFFX-MurlL2_at).

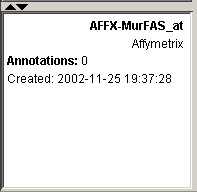
4. Look at the Description pane in the lower left corner of the window. It displays the information about the gene that is currently in the database.

5. Close the table view by clicking the ![]() icon in its upper right corner.
icon in its upper right corner.
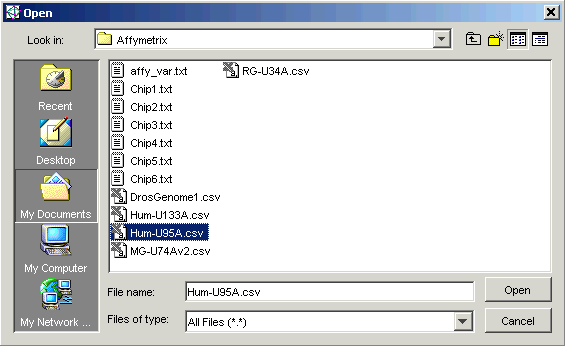
6. Select Import from the File menu and Gene List from the sub menu. The Open dialog is displayed.

7. Double-click the Affymetrix folder.
8. Set the Files of type to All Files (*.*).
9. Click the file Hum-U95a.csv.
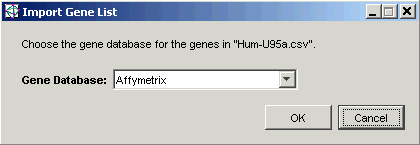
10. Click Open. The Import Gene List dialog is displayed.

11. The Gene Database is correctly set to Affymetrix, so all you need to do is click OK. The gene list is imported and is added to the Gene Lists navigator.
12. Click the Experiments tab in the navigator. The Experiments navigator is displayed.
13. Click the Chip1 dataset in the Experiments navigator. The item is highlighted.
14 Click the Table
View toolbar icon ![]() , or right-click the dataset and
select Table View from the shortcut
menu. A table view of the dataset is displayed.
, or right-click the dataset and
select Table View from the shortcut
menu. A table view of the dataset is displayed.

15. Click on the fourth gene name (AFFX-MurFAS_at) on the table view. The gene is highlighted.
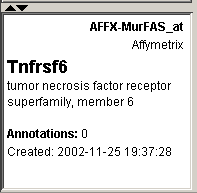
16. Look at the Description Pane. The information about the gene that was in the gene list has been added to the database.


