|
Tutorial 8: Step 1 Import Affymetrix Data
1. Click the Import
Gene Expression Data toolbar icon ![]() , or select Import from the File
menu and Gene Expression Data
from the sub menu. The Data Import
dialog is displayed.
, or select Import from the File
menu and Gene Expression Data
from the sub menu. The Data Import
dialog is displayed.
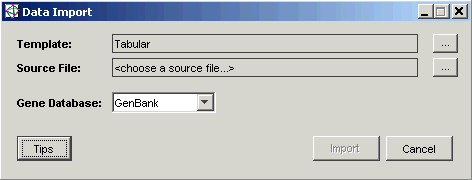
2. Click the button next to the Template. The Import Templates dialog is displayed.
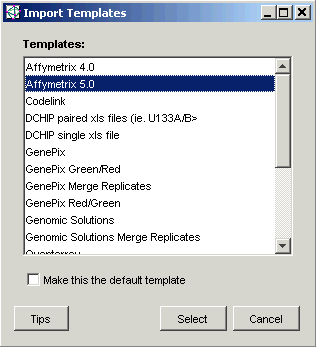
3. Click Affymetrix 5.0.
4. Click Select. The Data Import dialog is updated with the new template and the dialog changes conformation to support importing from multiple data files in a single folder.
5. Set the Gene Database to Affymetrix by selecting it from the drop-down list.
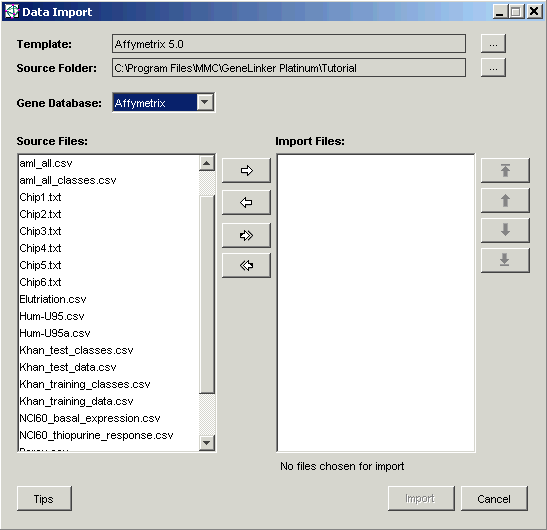
6. The Source Folder by default is the Tutorial folder. Click the ... button to the right. This displays the Open dialog.
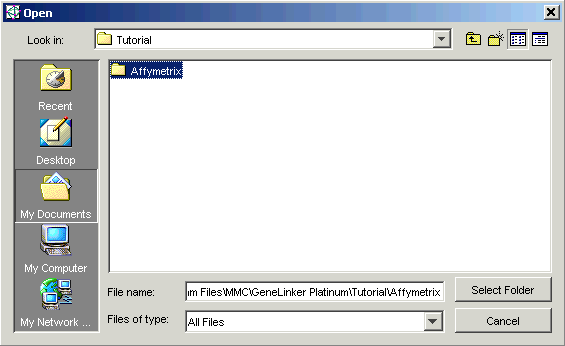
7. Click the Affymetrix folder. The folder name is highlighted.
8. Click Select Folder. The Data Import dialog is updated with the new Source Folder.
9. In the Source Files list, click the file Chip1.txt. The file is highlighted.
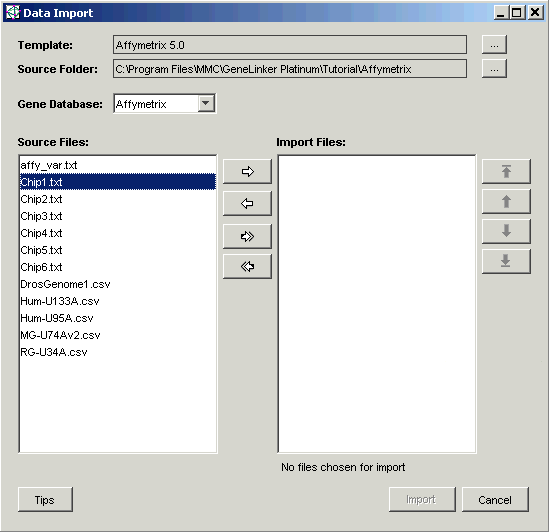
10. Click the right arrow button at the top between the Source Files and the Import Files lists. The Chip1.txt file is transferred into the Import Files list.
11. Click the right arrow button five more times to transfer the next five files into the Import Files list.
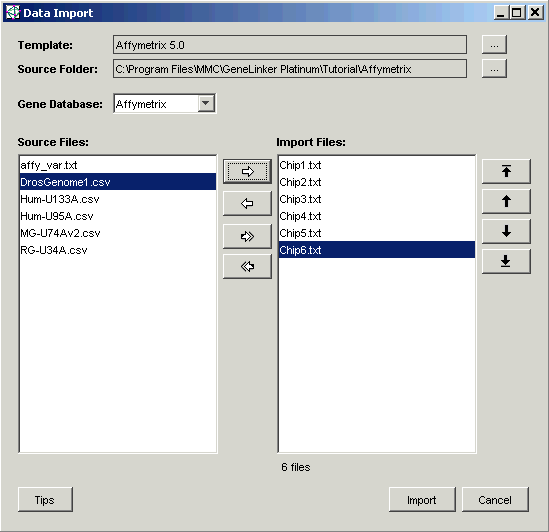
Each data file contains gene expression values for one sample. The files are imported from top to bottom, with the top file becoming the first sample in the dataset, the second file becoming the second sample, and so on to the last. This means that it is essential that the files listed in the Import Files list be in sample order before you click Import. The buttons to the right of the Import Files list can be used to reorder the files. In this tutorial it is not necessary to do this since the files are already in the correct order for import.
12. Click Import. After several seconds, the Import Data dialog is displayed.
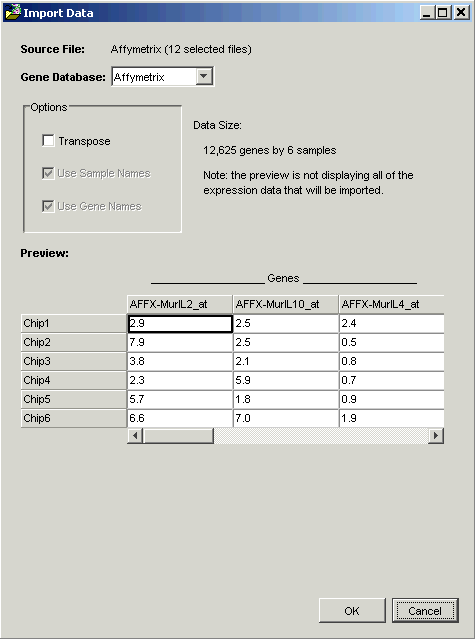
Within GeneLinkerô, datasets have the genes in columns and the samples in rows.
Note: the options Use Sample Names and Use Gene Names are checked and disabled in the Import Data dialog. GeneLinkerô has recognized that in this dataset, the first values are alphameric gene labels. Gene expression data is always numeric, hence the disabled checkboxes. GeneLinkerô has derived the sample names from the sample data files names.
13. Click OK. The data is imported and a new dataset (Chip 1) is added to the Experiments navigator.
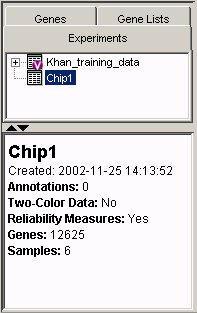
The dataset name is derived from the first sample file name. If you like, you can rename the dataset by right-clicking on the dataset in the navigator, selecting Rename Experiment from the shortcut menu and typing in a new name.

