|
Tutorial 5: Step 1 Import the Data
Import the Data
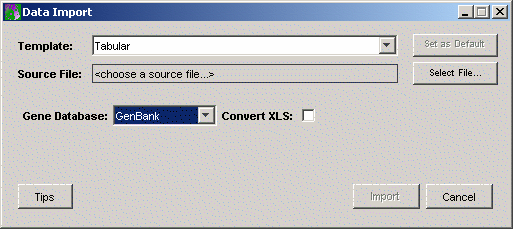
1. Click the Import
Gene Expression Data toolbar icon ![]() , or select Import from the File
menu and Gene Expression Data
from the sub menu. The Data Import
dialog is displayed.
, or select Import from the File
menu and Gene Expression Data
from the sub menu. The Data Import
dialog is displayed.

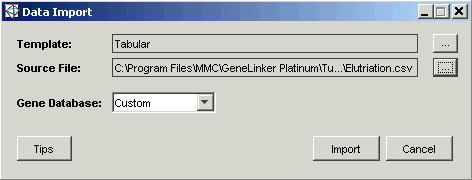
2. Set the Gene Database field to Custom using the drop-down list. The gene ids in the Elutriation dataset are SGD ids.
3. GeneLinker™ uses a template to interpret data files being imported. Ensure that the template is Tabular.
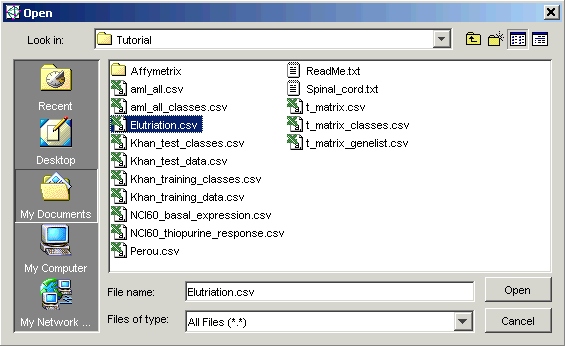
4. The next step is to identify the name and location of the data source file. Click the button to the right of the Source File box. The Open dialog is displayed.

5. The tutorial data files are located in the Tutorial folder. This is the folder listed in Look in, so you do not need to navigate to it. Click the file Elutriation.csv and click Open. The Data Import dialog is updated with the file name.

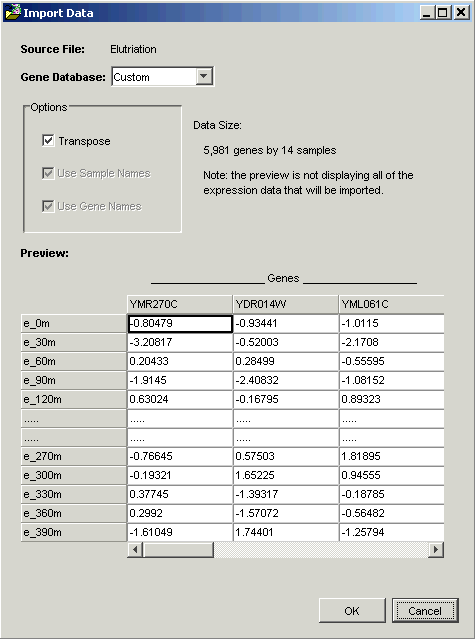
6. Click Import. The Import Data dialog is displayed.

GeneLinker™ examines the file and offers to transpose it. Within GeneLinker™, datasets have the genes in columns and the samples in rows.
When importing data using a Tabular template, GeneLinker™ assumes that the more numerous dimension of your data represents genes (most microarray experiments involve more genes than samples). If this is so (as in this tutorial), then clicking OK is all that is required.
Note: the options Use Sample Names and Use Gene Names are checked and disabled in the Import Data dialog box. GeneLinker™ has recognized that in this dataset, the first row and column contain alphameric labels. Gene expression data is always numeric, hence the disabled checkboxes.
7. Click OK. The data is imported and an item named Elutriation is added to the Experiments navigator. This represents the raw, publicly available data which has already been normalized.

